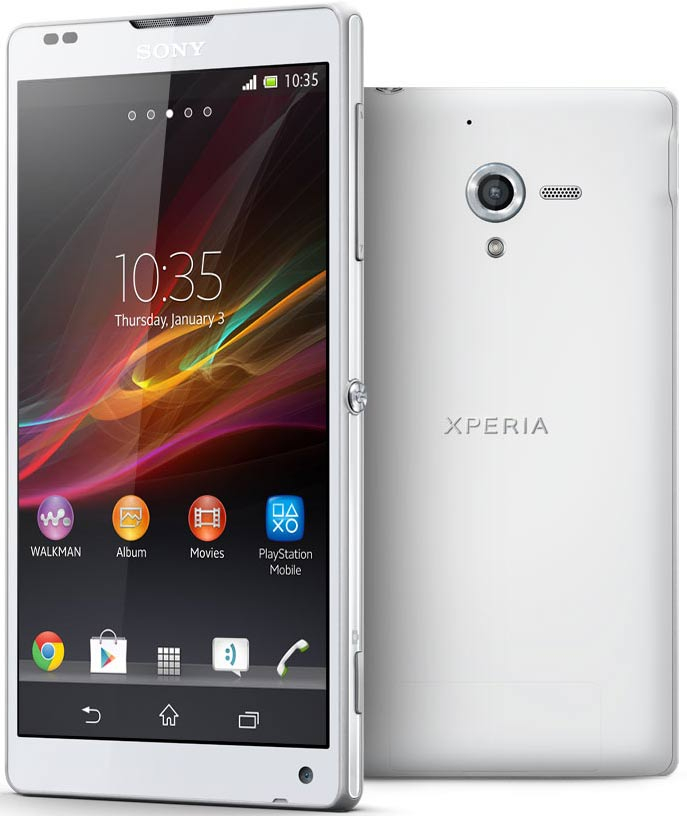
After a successful hard reset on your Sony Xperia ZL mobile phone, you will notice that when you try to access your phone, you are required to input password or pattern or use your Google account instead. This becomes quite hard as you might not recall your passwords but do not worry as there are various ways to perform this task and one of them is by the use of unlock tool. Unlock tool is a computer software that is used to handle mobile phone related problems such as bypass in and faster way. In this article we will be going to explain various methods on how you can bypass FRP on your Sony Xperia ZL device and it is up to you to select the method that best suits your Sony device. Let us get started.
METHOD 1
- When you try to access your device, you are required to input the password or use your Google account instead.


2. Open unlock tool on your laptop or PC and click on “device manager” and a screen as illustrated below will be displayed.

3. Using a USB data cable, connect your Sony Xperia ZL device to your laptop or PC and on the device manager menu, select “other devices” and click on it as indicated.

4. Right click on the device and update driver. On a pop up page that follows, select “browse my computer for drivers”.


5. Thereafter, uncheck the checkbox that reads “include subfolders” and select the option as shown below.

6. Click on “ADB interface” on the next page, select “mobile” and click on “next”.


7. An update driver warning will pop up where you will select “yes” option and wait for your drivers to be updated and once updated you will get a notification such as the one illustrated below.


8. Close the page and head back to unlock tool software. While on unlock tool, select “android”, hover over to “android image” and click on “FRP BYPASS”.

9. Click on “select” when a pop up message such as the one illustrated below displays on your laptop or PC screen.

10. Thereafter, tap on “view” and you will be directed to chrome.

11. On the search bar, search for “vnrom” and click on the first link as illustrated.

12. Tap on “settings” and on the next page tap on “accessibility”.


13. Scroll down and select the “accessibility menu” option and allow it.


14. Thereafter, head back to the settings page and click on “Apps” and select “see all apps”.


15. On the next page, tap on the three dots at the top right side of your Sony Xperia ZL device and select “show system” option.


16. Scroll down, select “Android setup” and tap “force stop”.


17. Thereafter, go back to the “all apps” page and scroll down until you see “Google paly services” and click on it.

18. Tap on the disable option first and then force stop option as the second option.

19. Thereafter, go back up to the welcome page as shown below. Click on “get started” and accept the important information.


20. You will then be directed to the Wi-Fi page where you need to select “set up offline” option on the bottom left side of your Sony Xperia ZL screen device.

21. You will then be directed to a page as follows. Tap on the three dots as indicated in the image below.

22. A list of options will be displayed. Tap on the “Google assistant” until a “setting” option displays as shown below where you quickly need to tap on it.


23. You will be directed to the Google play services page where you need to enable it. Thereafter click back and accept the Google terms of service as required.


24. Thereafter, you can choose to set your screenlock or not and eventually a page such as the one below will be displayed. Tap on “Finish” and you will be directed to tyour device’s homescreen.

25. Congratulations!!! You have successfully bypassed FRP and are now free to access your Sony Xperia ZL mobile phone freely.

No responses yet